_edited.jpg)
How to Clean Cloudy Solar Lights? ——7 Tools and 10 Steps
- Topaz Du
- Sep 28, 2022
- 6 min read
You'll be amazed at how quickly the solar panel on your solar outdoor lights can change colors and become white if you have any. It's also not charging your rechargeable battery well because the solar power can't pass through the panel. The sun's UV rays are causing oxidation.

Weather conditions like rain, humidity, snow, and even hail can also negatively impact the lifespan of your solar lights. Your solar lights will look cloudy from the buildup of dirt and other debris. It can actually cause corrosion of the metal parts of the lights, as well as damage to the surface of the panels, which will result in lower power generation. This will reduce their brightness and run time.

It is important to clean the solar panels of the solar lights frequently. A solar panel system with a slope will receive rain showers naturally. However, a system with a flat surface will need to be cleaned more often.
We'll show you the tools and steps about how to clean your solar panel on the solar light.
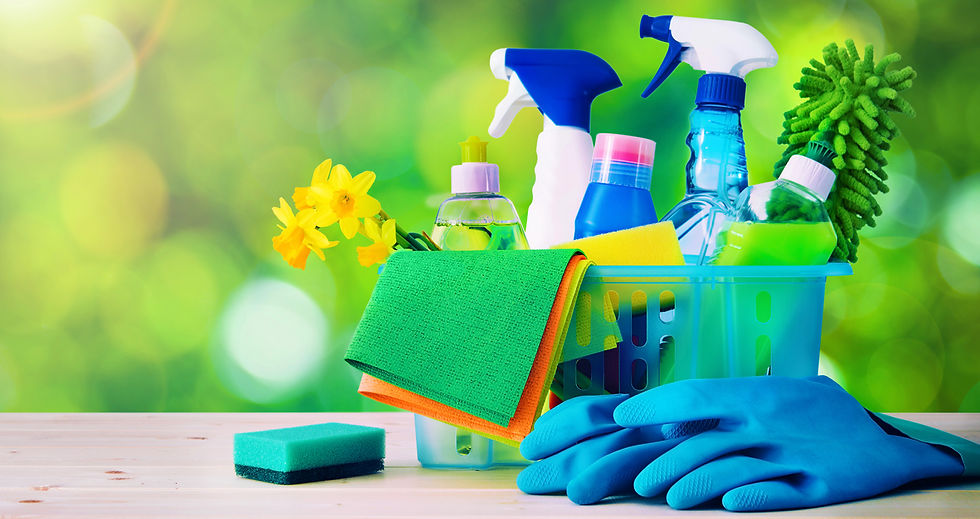
7 Tools to Prepare Before Cleaning Solar Light Panels
1. Dish Soap and Mild Detergent
To loosen dirt on the solar panel, we use water. Then we can wipe it off. We will use normal dishwashing liquid to clean solar lights. This is because it is more effective than harsh chemicals that can damage the solar light's internal electronics.
2. Towel or dry cloth

It is crucial that you dry your solar panel and solar lights immediately after cleaning. This will help prevent any damage. To dry the solar lights completely after cleaning, you will need to use a towel or a dry cloth.
3. Spray bottle of water

This will come in handy when you have to get your sandpaper wet and wipe the solar panel.
4. Two types of sandpaper
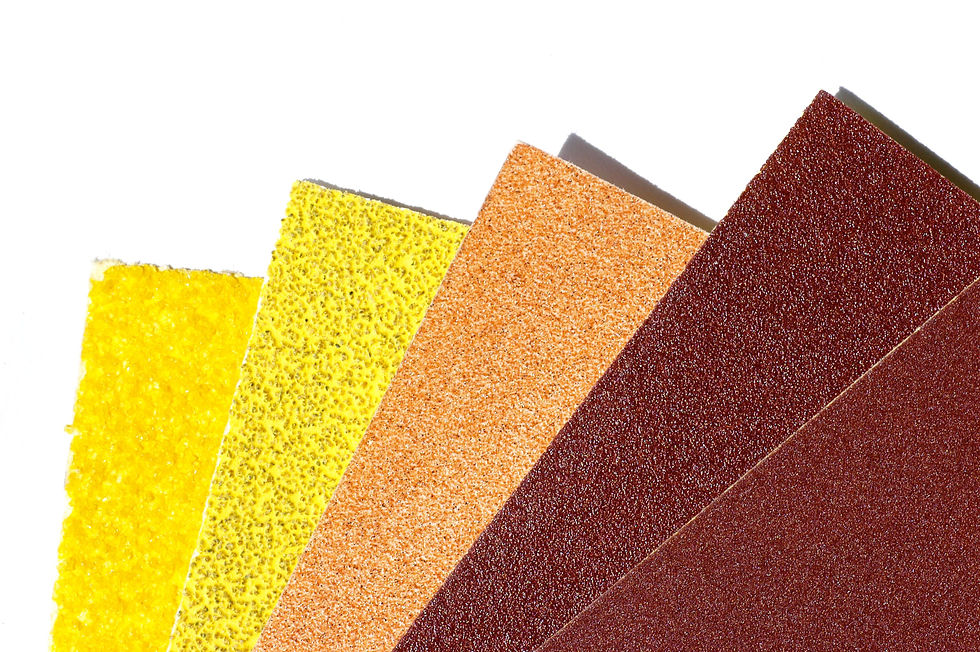
It is possible that your solar panel on the solar lamp has accumulated dirt and debris over time. If this happens, it is hard to remove them by only using a sponge to clean it. You need to use two Grits of sandpaper with 400 or 2000 grits.
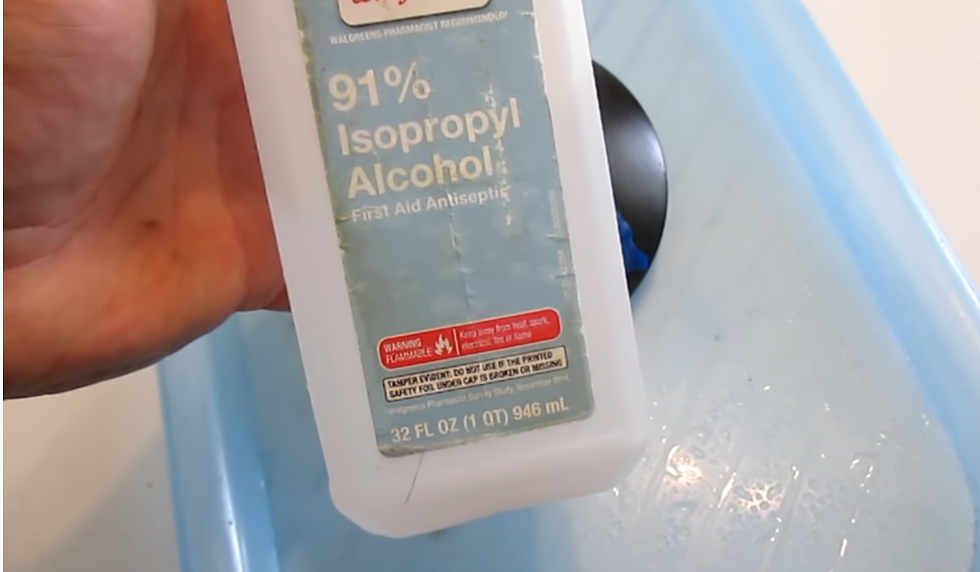
5. Isopropyl Alcohol

Pure alcohol, isopropyl alcohol, is a colorless liquid that has a musty, sharp smell. It can be used to remove dirt oil, and it is quick to dry the solar panel so you can move on to the next stage.
6. A roll of painters' tape and cardboard

You can make a shape that is identical to the template for solar panels.
7. Clear Coat Spray

Clear coat spray is a transparent paint that protects solar panels from UV rays and damage. Clear coat spray gives your solar panel a glossy look that enhances its base color and allows you to easily remove small scratches. This spray is used to brighten the solar cells. It should be non-yellowing, and UV-resistant.
10 Steps to Clean Solar Panels to Make the Solar Light Look New
Step 1, Remove the Part with a Solar Panel from the Solar Light
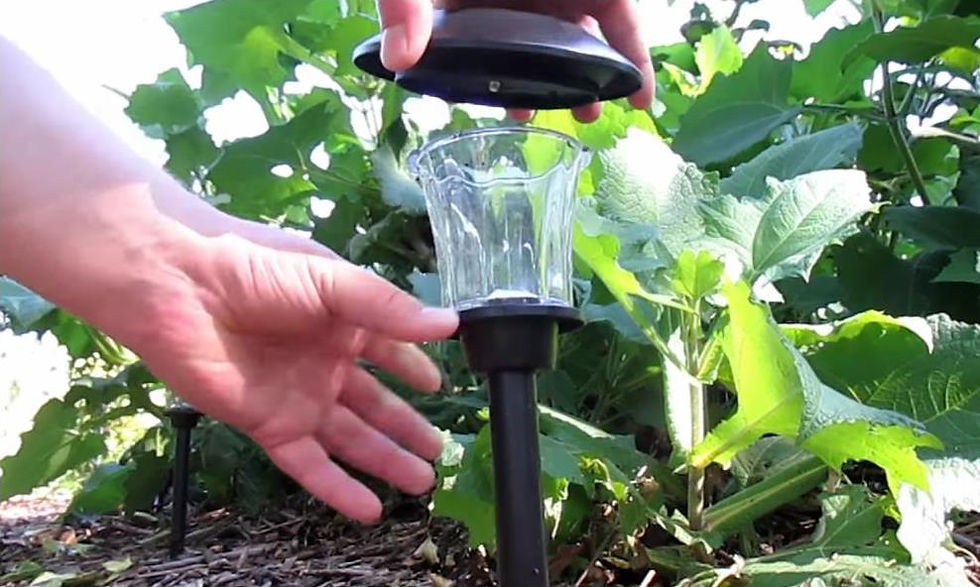
First, remove the solar panel part from the solar lights. This will ensure that you don't damage any other parts of the solar lights when you wash it.
TIPS 1 - Is it necessary to turn off the switch on the solar light in order to clean them?
Make sure that your system is turned off before you clean.
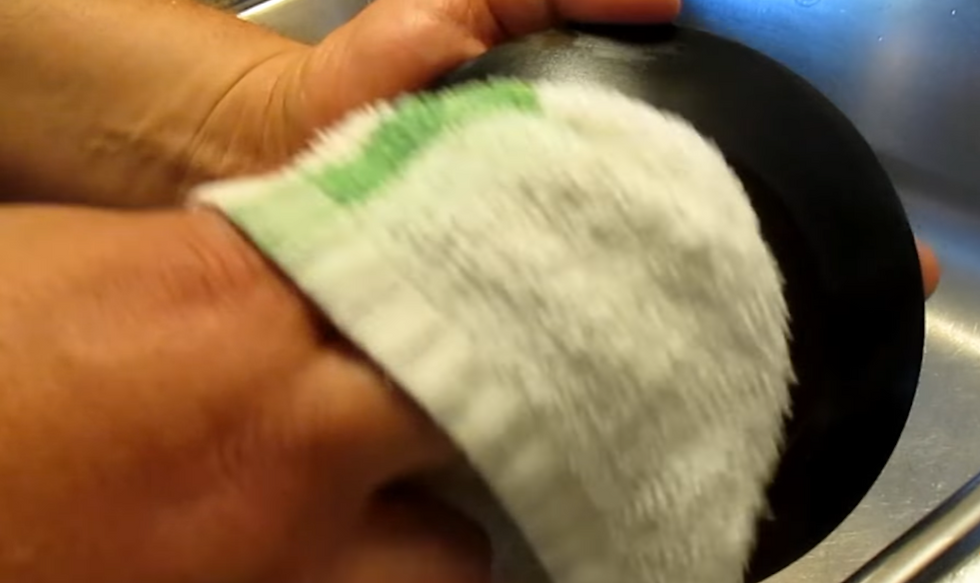
Step 2: Wipe the Cover with the Dish Soap Water Mixture and the Kitchen Sponge

Give the top layer a quick clean with a standard dish sponge. If you used the scrubby portion, be sure to apply pressure with a light touch to ensure that it doesn't cause any damage to the solar panel.
TIPS 2 - What soap should I use to clean my solar panels?
Remember that solar panels can be damaged or scratched easily. This will reduce the energy output. It is recommended that you clean your panels in the same manner as you would clean your car. Warm water and dish soap are the best and most efficient cleaning methods. Use a sponge or towel to clean your panels. It may be helpful to use a squeegee for unclean water.
Rarely, oily stains may appear on your panels. If you live near an airport or busy highway, these stains can be easily removed with isopropyl alcohol. You should avoid strong cleaning fluids as they could smear or damage the glass.
TIPS 3 - Use Vinegar in your water-detergent mixture?
Vinegar can be used to clean solar panels in a natural, sustainable manner. Vinegar can be used to clean all kinds of things. It's also easy to find in your pantry. It's a great element to keep metal and crystal artifacts clean. To make a cleaning solution, you will need to dilute the vinegar a bit. In a bowl, combine 1/4 cup vinegar, 2 cups water, half a teaspoon liquid detergent, or any other non-abrasive, with 1/2 teaspoon of liquid soap. Now you have a solar panel cleaning remedy. It's that simple! It can be used to remove stains that are more difficult to get off the panels.
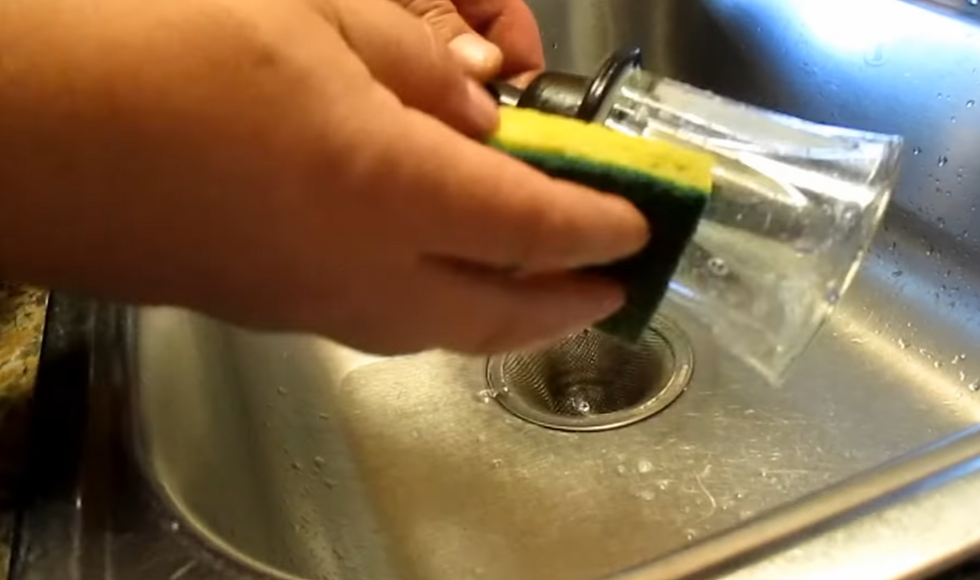
Step 3: Rinse
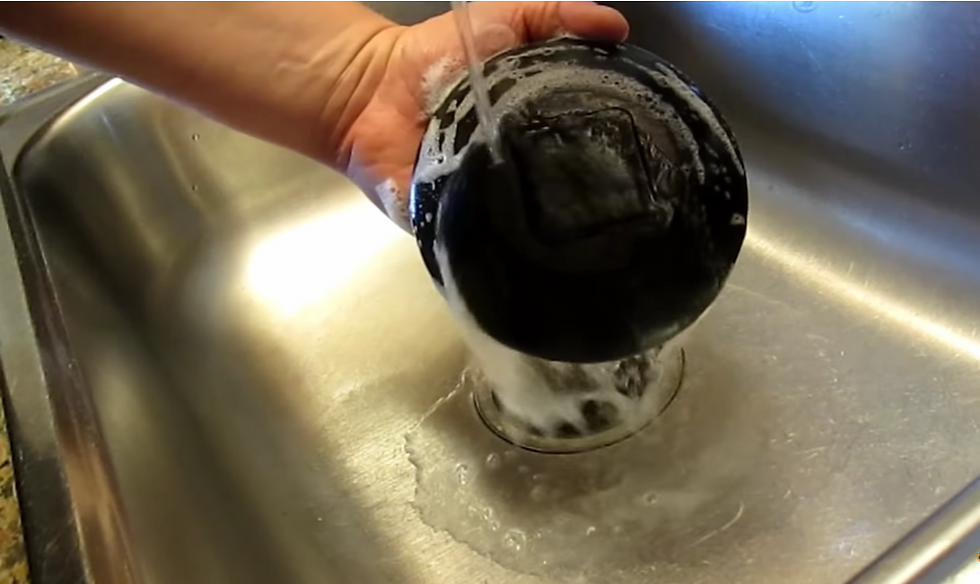
After you have cleaned the cover with the solar panel, wash it with warm water to remove soap residue. This residue can stick to the surface and attract dirt. Be careful not to get water on the sides of the lid as that is where the electronics and battery are.
Step 4: Dry the Solar Panel Thoroughly
The top cover should be washed and dried with a towel. Make sure not to let any water get inside the area the place where the battery within the light and the electronics is located. You can dry the top with a towel and then place it in the sun for a few hours.
Step 5: Wait for the Solar Panel completely to dry. Then, clean the rest (base or any other parts) of your solar lights.
This is a great time to clean the rest of the solar lamp. Simply use a kitchen sponge to gently wipe the surface. Use light pressure if you're using the scrubby side of your solar lamp.
Once you have finished cleaning the fixture, rinse with water and dry it with a towel.
Step 6: Protect the surface with tape other than a solar panel
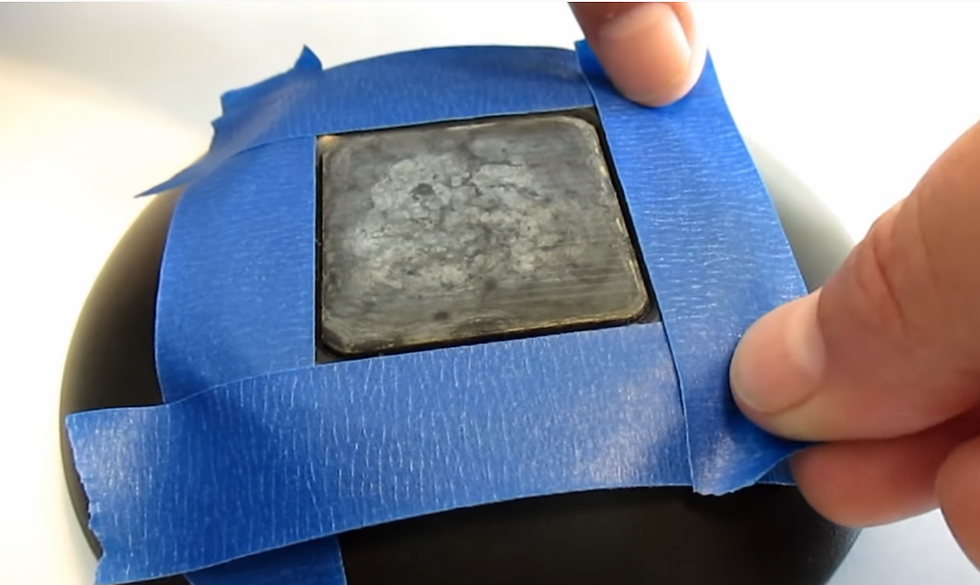
Once everything is clean and dry, you will need to apply tape to the area where the solar panel is. This protects the surface from being scratched. We will use sandpaper next.
Step 7: To remove dirt from the Solar Cell, use 400 Grits Sandpapers and 2000 Grits sandpaper to give a nice finish

We'll simply tear off two pieces of sandpaper for each grit. Grab your spray bottle and go through all the solar cells. You will need to start with 400 grit and apply light pressure to remove dirt from the solar cells and panels. The grime credit will disappear immediately. Keep everything clean and moist while you apply the next step of the solar cells. Let's now move onto 2000 grit. Keep all components moist and apply light pressure. To give it a smooth finish, we'll rub this down. We need to use light pressure when sanding the clear coating. Also, make sure everything is clean and wet.
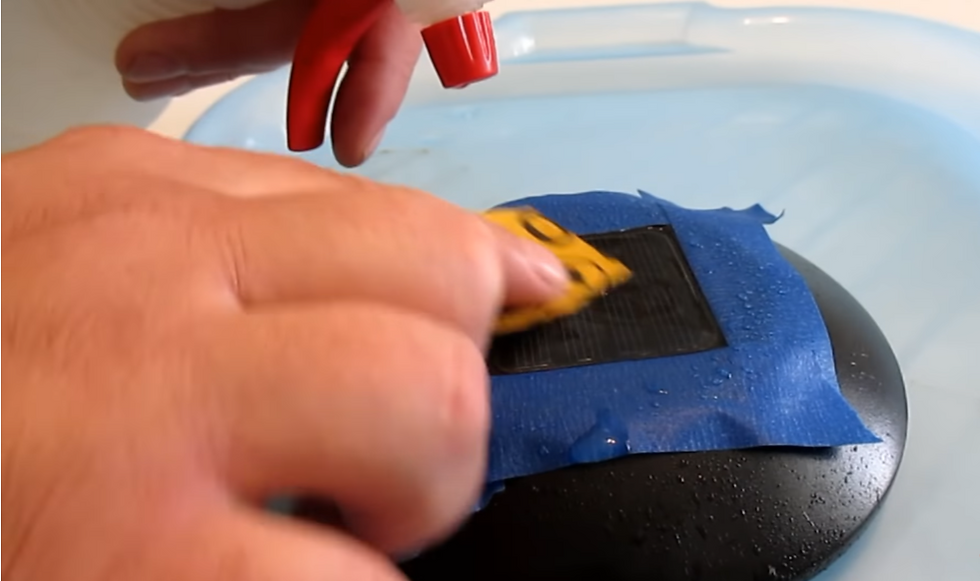
TIPS 4 - This Sandpaper can either be used dry or wet
However, I found that I had better results using it wet. After you have sanded the glass, a small amount of pressure paper will glide over it. The amount of water is depending on how stained your solar panel is, you can add more water. Although you might need to do several applications at once, I found that it took only two to three minutes. In case the solar panel starts drying, make sure to re-wet it between each application.
Step 8: Spray Alcohol
Use a small amount of alcohol to give the solar panel a final clean. This will quickly remove any oil or dirt that may have accumulated and can be used to speed up the next step.
Step 9: Spray Clear Coat on the Solar Panel

Before spraying the clear coating, trace an area equal to the dimensions of your solar panel. Then cut it out and use that as an overspray protection.
This is the most important part of the project. When applying the clear coat, give it a short, but steady, burst of light. It should not be too thick, or it will drop off. If it looks a little messy after it's done, don't worry. After it's dry, you can apply multiple coats of clear coatings to it. It should dry completely before applying another coat. Don't worry about any streaks.
It will smoothen the surface as it dries. The solar panel will look amazing, the clear coat looks smooth and everything is clear.

TIPS 5 - Is it Possible to Use Transparent Nail Polish on Solar Lights?
Clear nail polish is possible to use on solar lights. This is an easy and fast way to fix solar lights. You only need to apply a very small amount of transparent nail polish evenly over the solar cells. Let the nail polish dry completely before you use the light.
Step 10: Clean Solar Light Battery Terminals
Besides the solar panel, the battery part in the solar light is also important. Check to see if there is any white dust on the solar lights' batteries. This indicates that your solar lights have white corrosion and that you should remove the white powder from the connecting terminals using sandpaper.
Sometimes batteries will need to be replaced. Outdoor solar lights generally last between 3-4 years and then need to be replaced.
We have successfully restored the solar light after following the above 10 steps.
This will make it easy to do each year during the fall season, and then you can restore the solar lights during winter when there is not as much sun. The solar lights can be taken out in spring. You can then take them back and put them in your backyard again.
See more principles of solar lights or ideas about decorating your living space.


Comments